sourdough
Sourdough takes time. There’s no way around it. Instead of using a fast-action baking yeast to make your dough rise, you are harnessing the natural bacteria that surrounds us. It’s a slow process that requires dedication, but it is so worth it.
I think there’s a little magic in making sourdough. You take 3 ingredients: flour, water and salt, and somehow end up with a loaf of bread. It is probably the piece of cooking where the end product least resembles the ingredients that went into it.
I find the process relaxing. The days and weeks of effort you put into developing a strong starter (the bacteria culture that gives rise to your loaves), the hours of patiently strengthening the gluten, and the smell of the bread as it’s baking. These elements all add to the finished product and make it one of my favourite things to bake.
A quick disclaimer, this process will take a few weeks if you’re starting from scratch by making your own starter. If you have a friend who bakes sourdough, ask if you can inherit 50g of their starter. It’ll mean you can get to baking straight away. Plus, it’s nice to share these things. A lot of bakeries have had their starters for decades, even longer in some cases. You can buy starters online that are said to be hundreds of years old.
When I first started baking sourdough a few years back, I wanted to create my own starter lineage (which a lot of my friends and family now use). This, for me, felt like a part of the process, however, feel free to skip this step if you can get your hands on a portion of one that is already being used.
The method explained below will yield one loaf of sourdough, and will be written for a Sunday morning bake. This means that you’ll make your levain on the Friday night, make the dough on the Saturday, and bake on the Sunday morning. Please adapt based on when you want to bake your loaf.

for the starter
1kg white flour
1kg wholewheat flour
room temperature water
for the levain
1 tbsp starter
75g white flour
75g wholewheat flour
150ml room temperature water
for the loaf
100g levain
400g white bread flour
100g wholewheat flour
400ml room temperature water
10g salt
method
making the starter (2 weeks before bake)
Start by mixing the two flours together. This flour mix will be what you feed your starter with over the next week or so, so it’s easiest to mix it in advance.
Put 300g of the flour mix in a bowl and top with 150ml of room temperature water. Mix this up with your hands until all the lumps of flour are mixed in.
Cover this with a kitchen towel and leave to ferment in a cool, dark place. A cupboard in the kitchen will do nicely, but you can also just leave on the kitchen counter so long as direct sunlight won’t hit it.
For the next few days, you just need to wait. You are waiting for the mix to begin to ferment, which you’ll notice when bubble start to appear on the surface or around the edge. You can check it every so often, but this will probably take around 2 days to happen.
Once the bubbles form, it’s time to feed your starter.
To do this, you need to start by disposing all but 75g of your starter. To this 75g, add 100g of flour and 100g of room temperature water. Mix this up with your hands and let it sit as before.
Repeat this process every 24 hours (try to do it at the same time each day, so that you can monitor the growth) for around 2-2.5 weeks, until the way it rises and falls is routine. You want to see it rise to over double the volume before shrinking back down.
It may feel strange to throw so much away every day, but don’t see it as waste. The bacteria has eaten as much of the flour as it can so, after that point, the starter will just get more and more acidic. You keep just a small amount of the starter each day to maintain the pH level, and monitor the ratio of bacteria to flour.
Once you have routine, your starter is ready to use. If you aren’t ready to bake just yet, you can continue to feed your starter as before. If needed, this is the point where you can keep your starter in the fridge. The cooler temperature will slow down the fermentation and mean that you don’t need to feed it every day. This is a good method for people who won’t bake multiple times per week, however, you will need to take it out a few days before you plan to bake.
making the levain (Friday Evening)
Now, it’s time to make your levain. This is the step right before you start to make your dough and is, essentially, the final feed to prep your starter for baking. It is important to note that the dough takes a whole day to make so, if you plan to bake on a Sunday, you need to make your levain on the Friday night.
To do this, discard of all but one tablespoon of your starter.
Feed this with 150g of your flour blend (50:50 mix of white and wholewheat) and 150g of room temperature water.
Cover this with a kitchen towel and leave overnight, preferably around 10 hours.
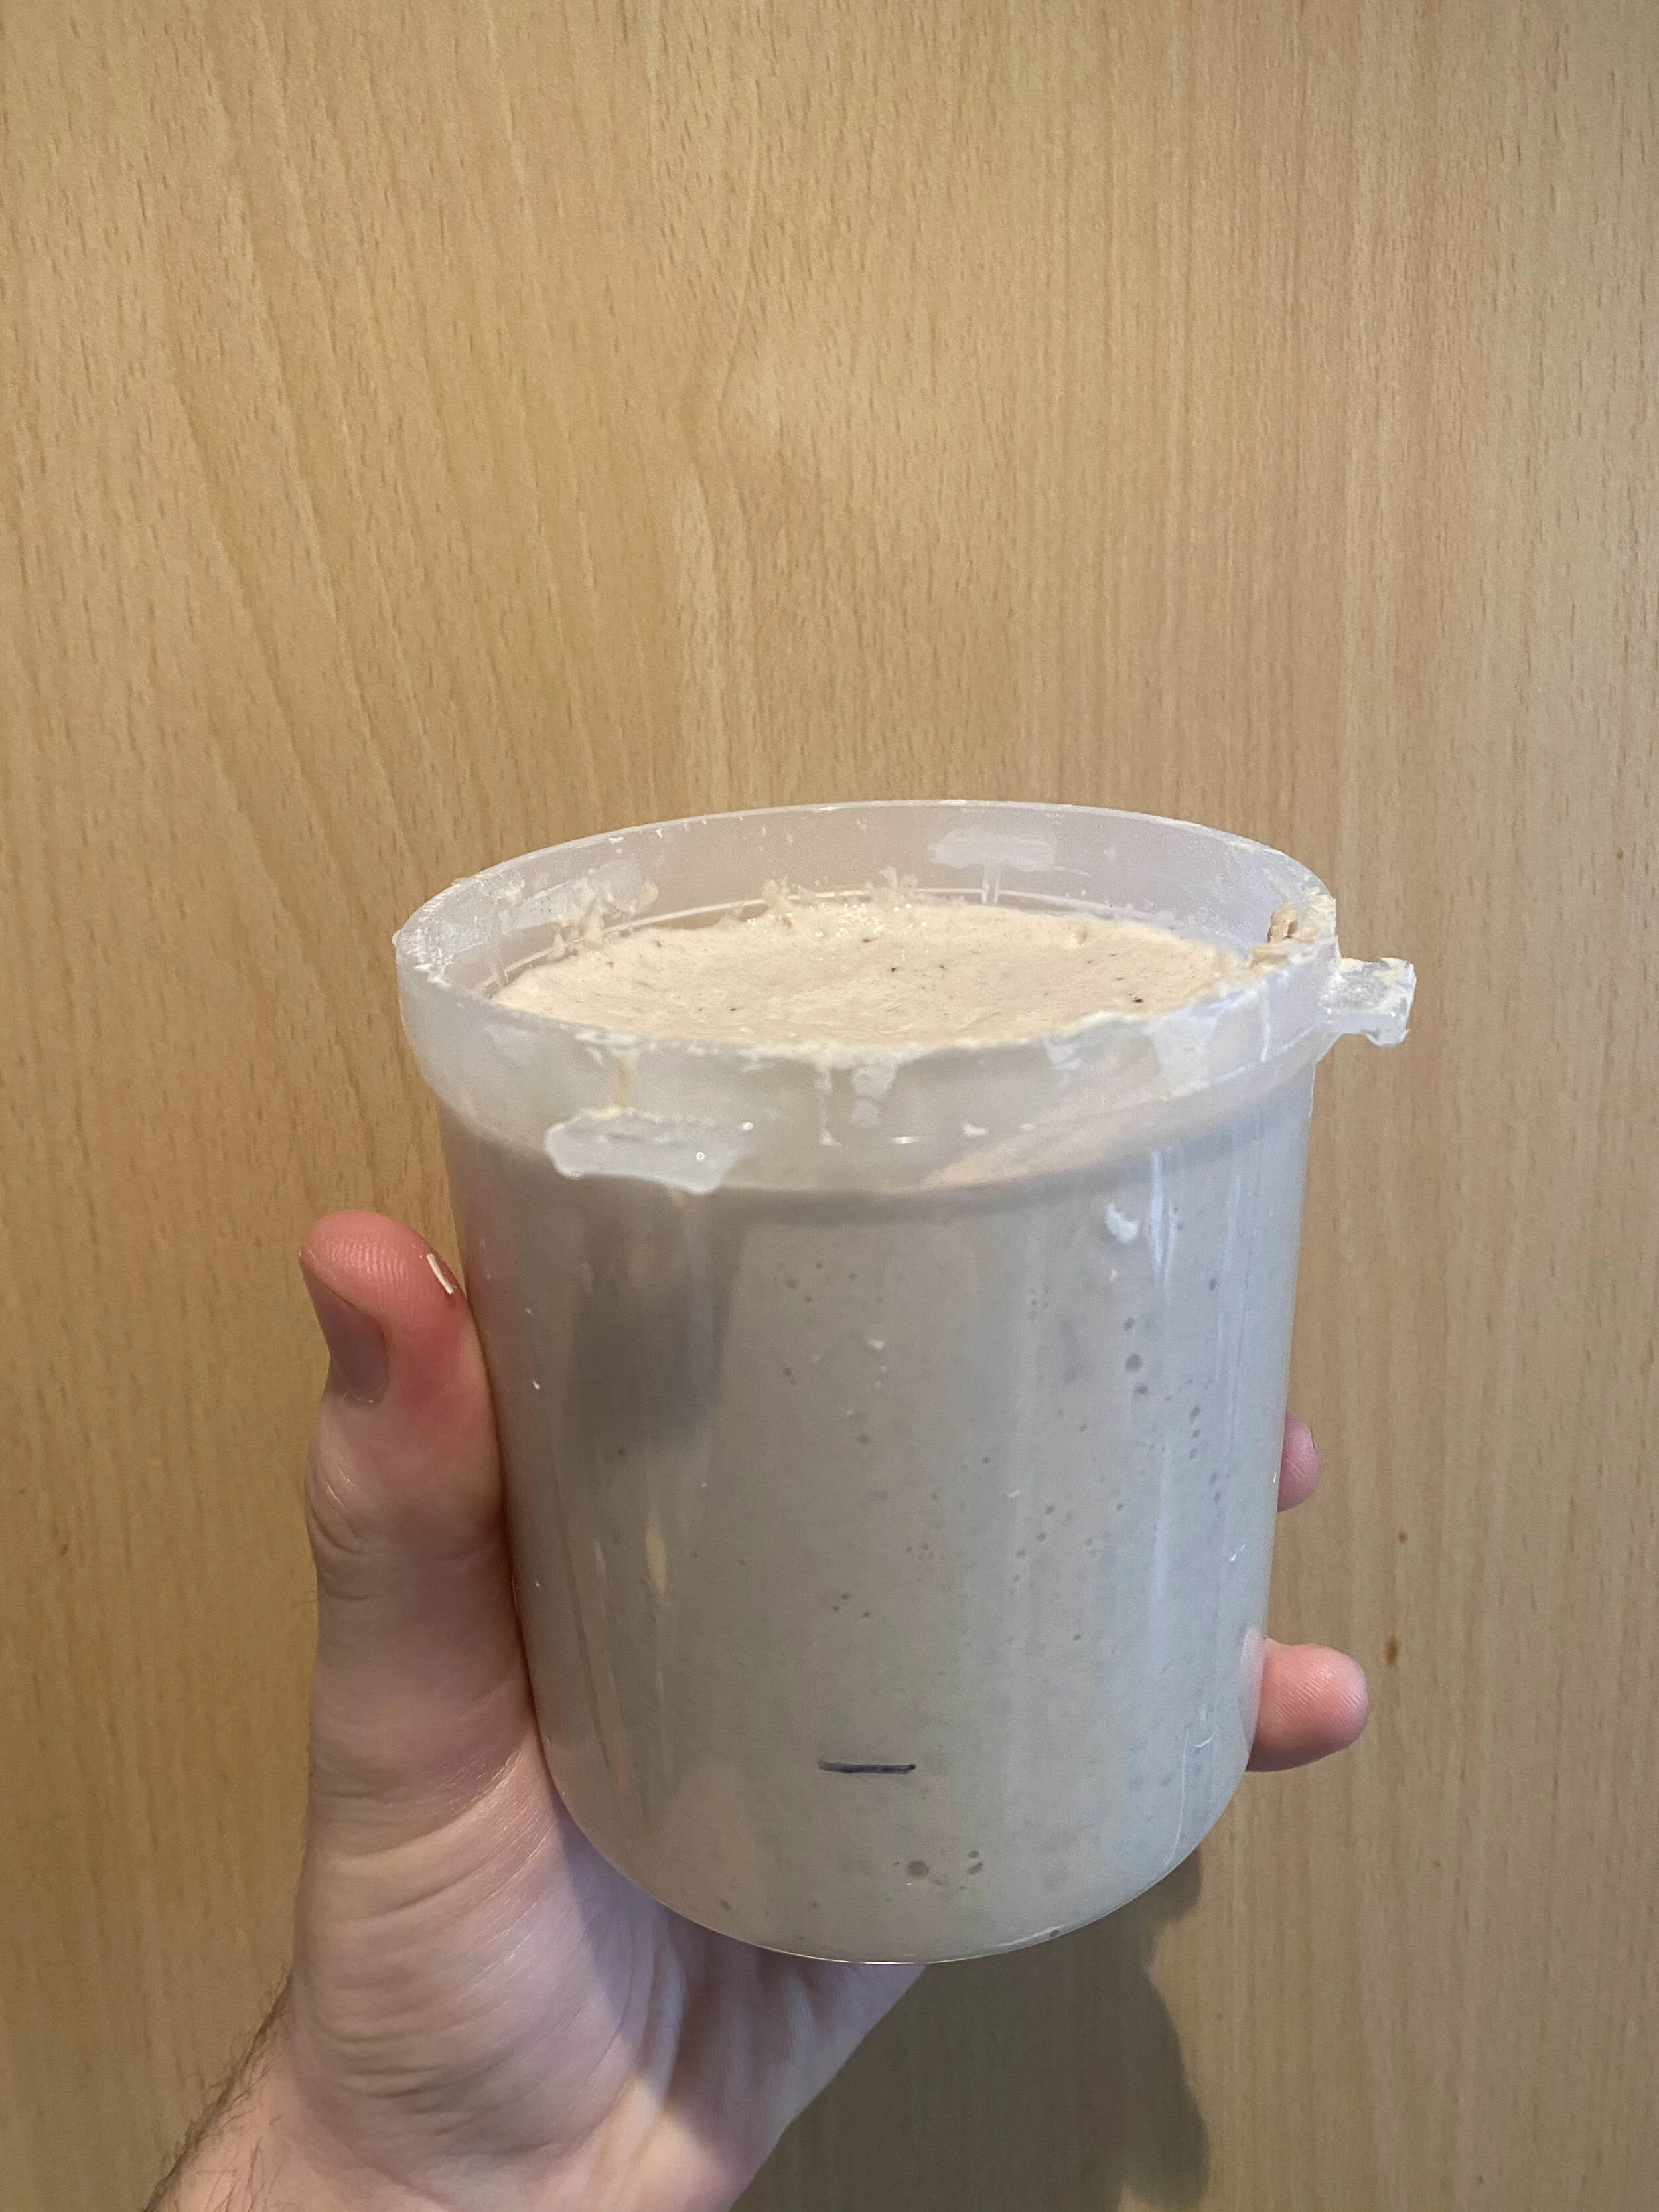
The next morning, it should have doubled in size, at least. You can test if it is ready by dropping a teaspoon of it into a bowl of room temperature water. If it floats, you’re good to go.
making the loaf (Saturday)
Once your levain has passed the float test, you can start making your dough.
Pour 350ml of room temperature water to a large bowl and stir in 100g of your levain. The rest of the levain is now your starter for your next bake, so continue to feed it as listed above.
Add 400g of white bread flour and 100g of wholewheat flour to the bowl and use your hands to mix it all together, ensuring that all the flour is incorporated.
Cover with a kitchen towel and leave for 30 minutes. Whilst this is resting, add 10g of salt to the remaining 50ml of water and stir to dissolve.
Once the dough has rested, add the salty water and fold the dough a few times to incorporate it.
You’re now in the bulk fermentation stage. This is where you will be strengthening the gluten in order to get it to a point where it is strong enough to create the big gas bubbles we all know and love in sourdough. Think of it like blowing up a balloon. You want the elastic to be strong so that the air you pump into it makes the balloon bigger rather than bursting it.
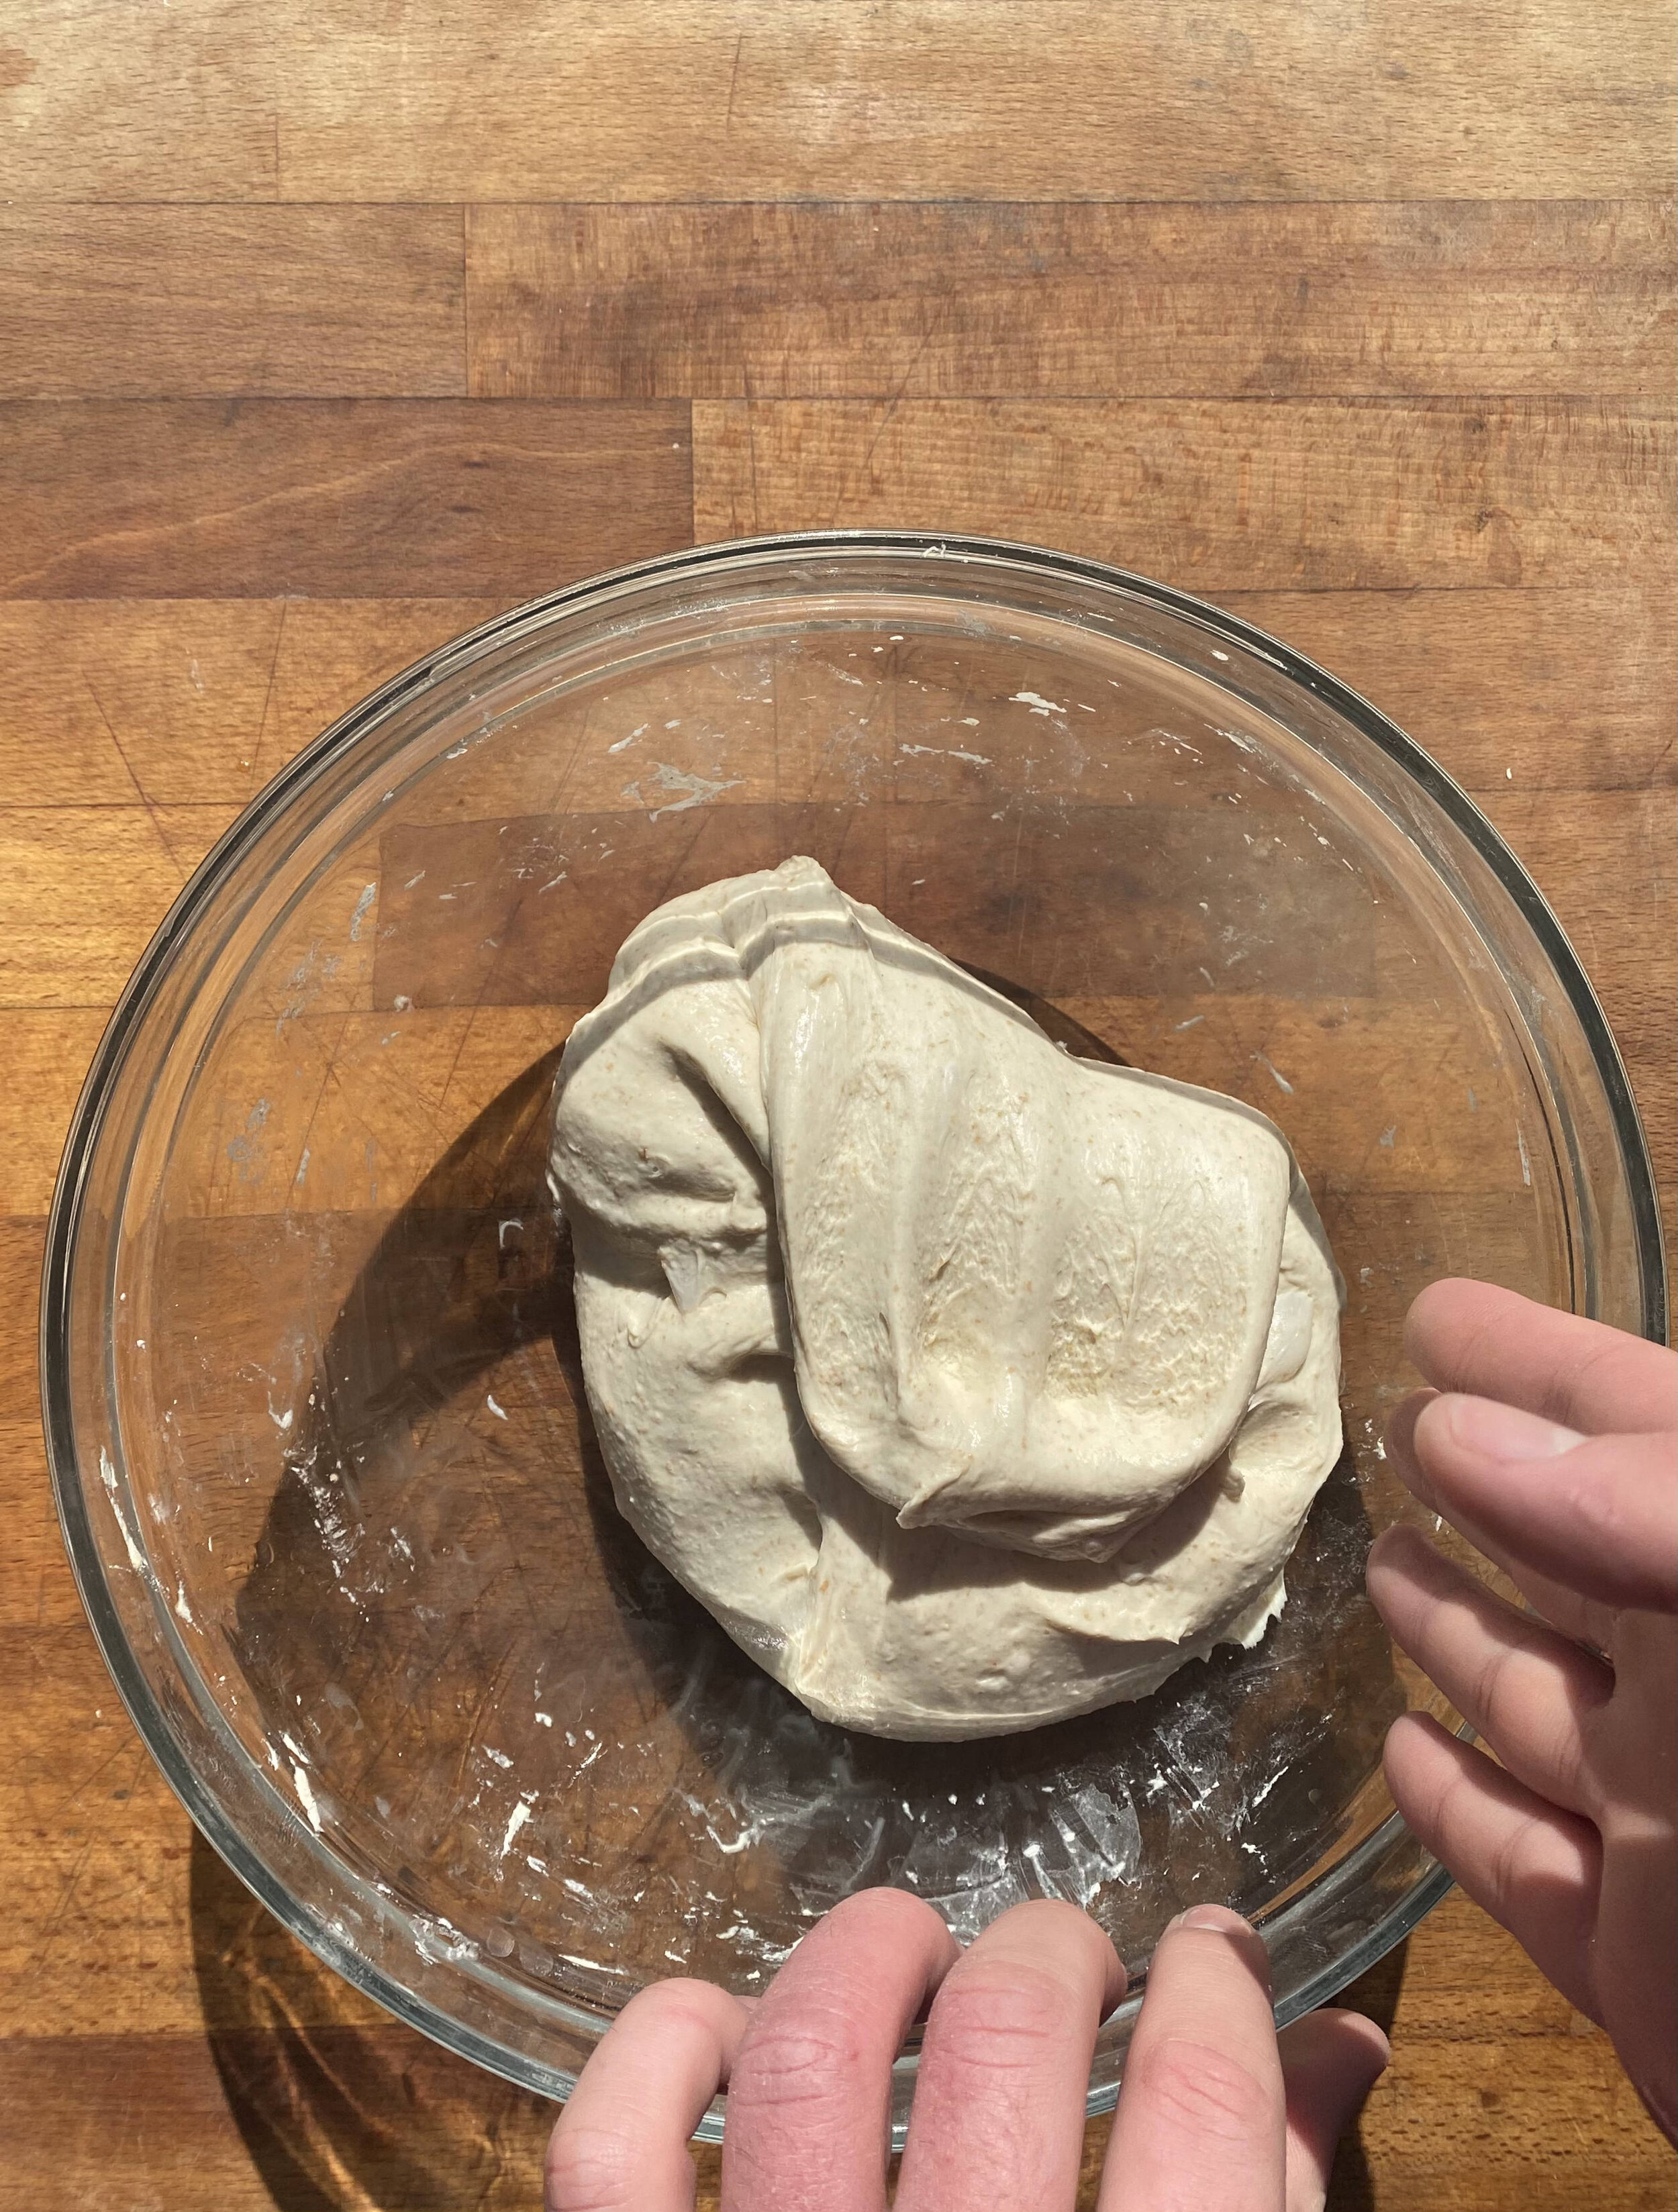
Every 30 minutes, for the next 3-ish hours, you need to fold your dough. To do this, dip your hands in water and then, with one hand, reach under the dough, pull it up, and fold it on top. Do this on all 4 sides by rotating the bowl 90 degrees, reaching underneath, and stretching and folding again. The dough may tear the first few times but, as time passes, you’ll notice it gets stronger and stronger. As you progress, try to get more and more delicate in order to keep as much air inside the dough as possible.
As mentioned before, repeat this process at 30 minute intervals for 3 hours, until the dough feels soft and aerated. It should have also grown by about 30% but, if not, repeat the process above once or twice more, remembering to leave 30 minutes between each stretch and fold.
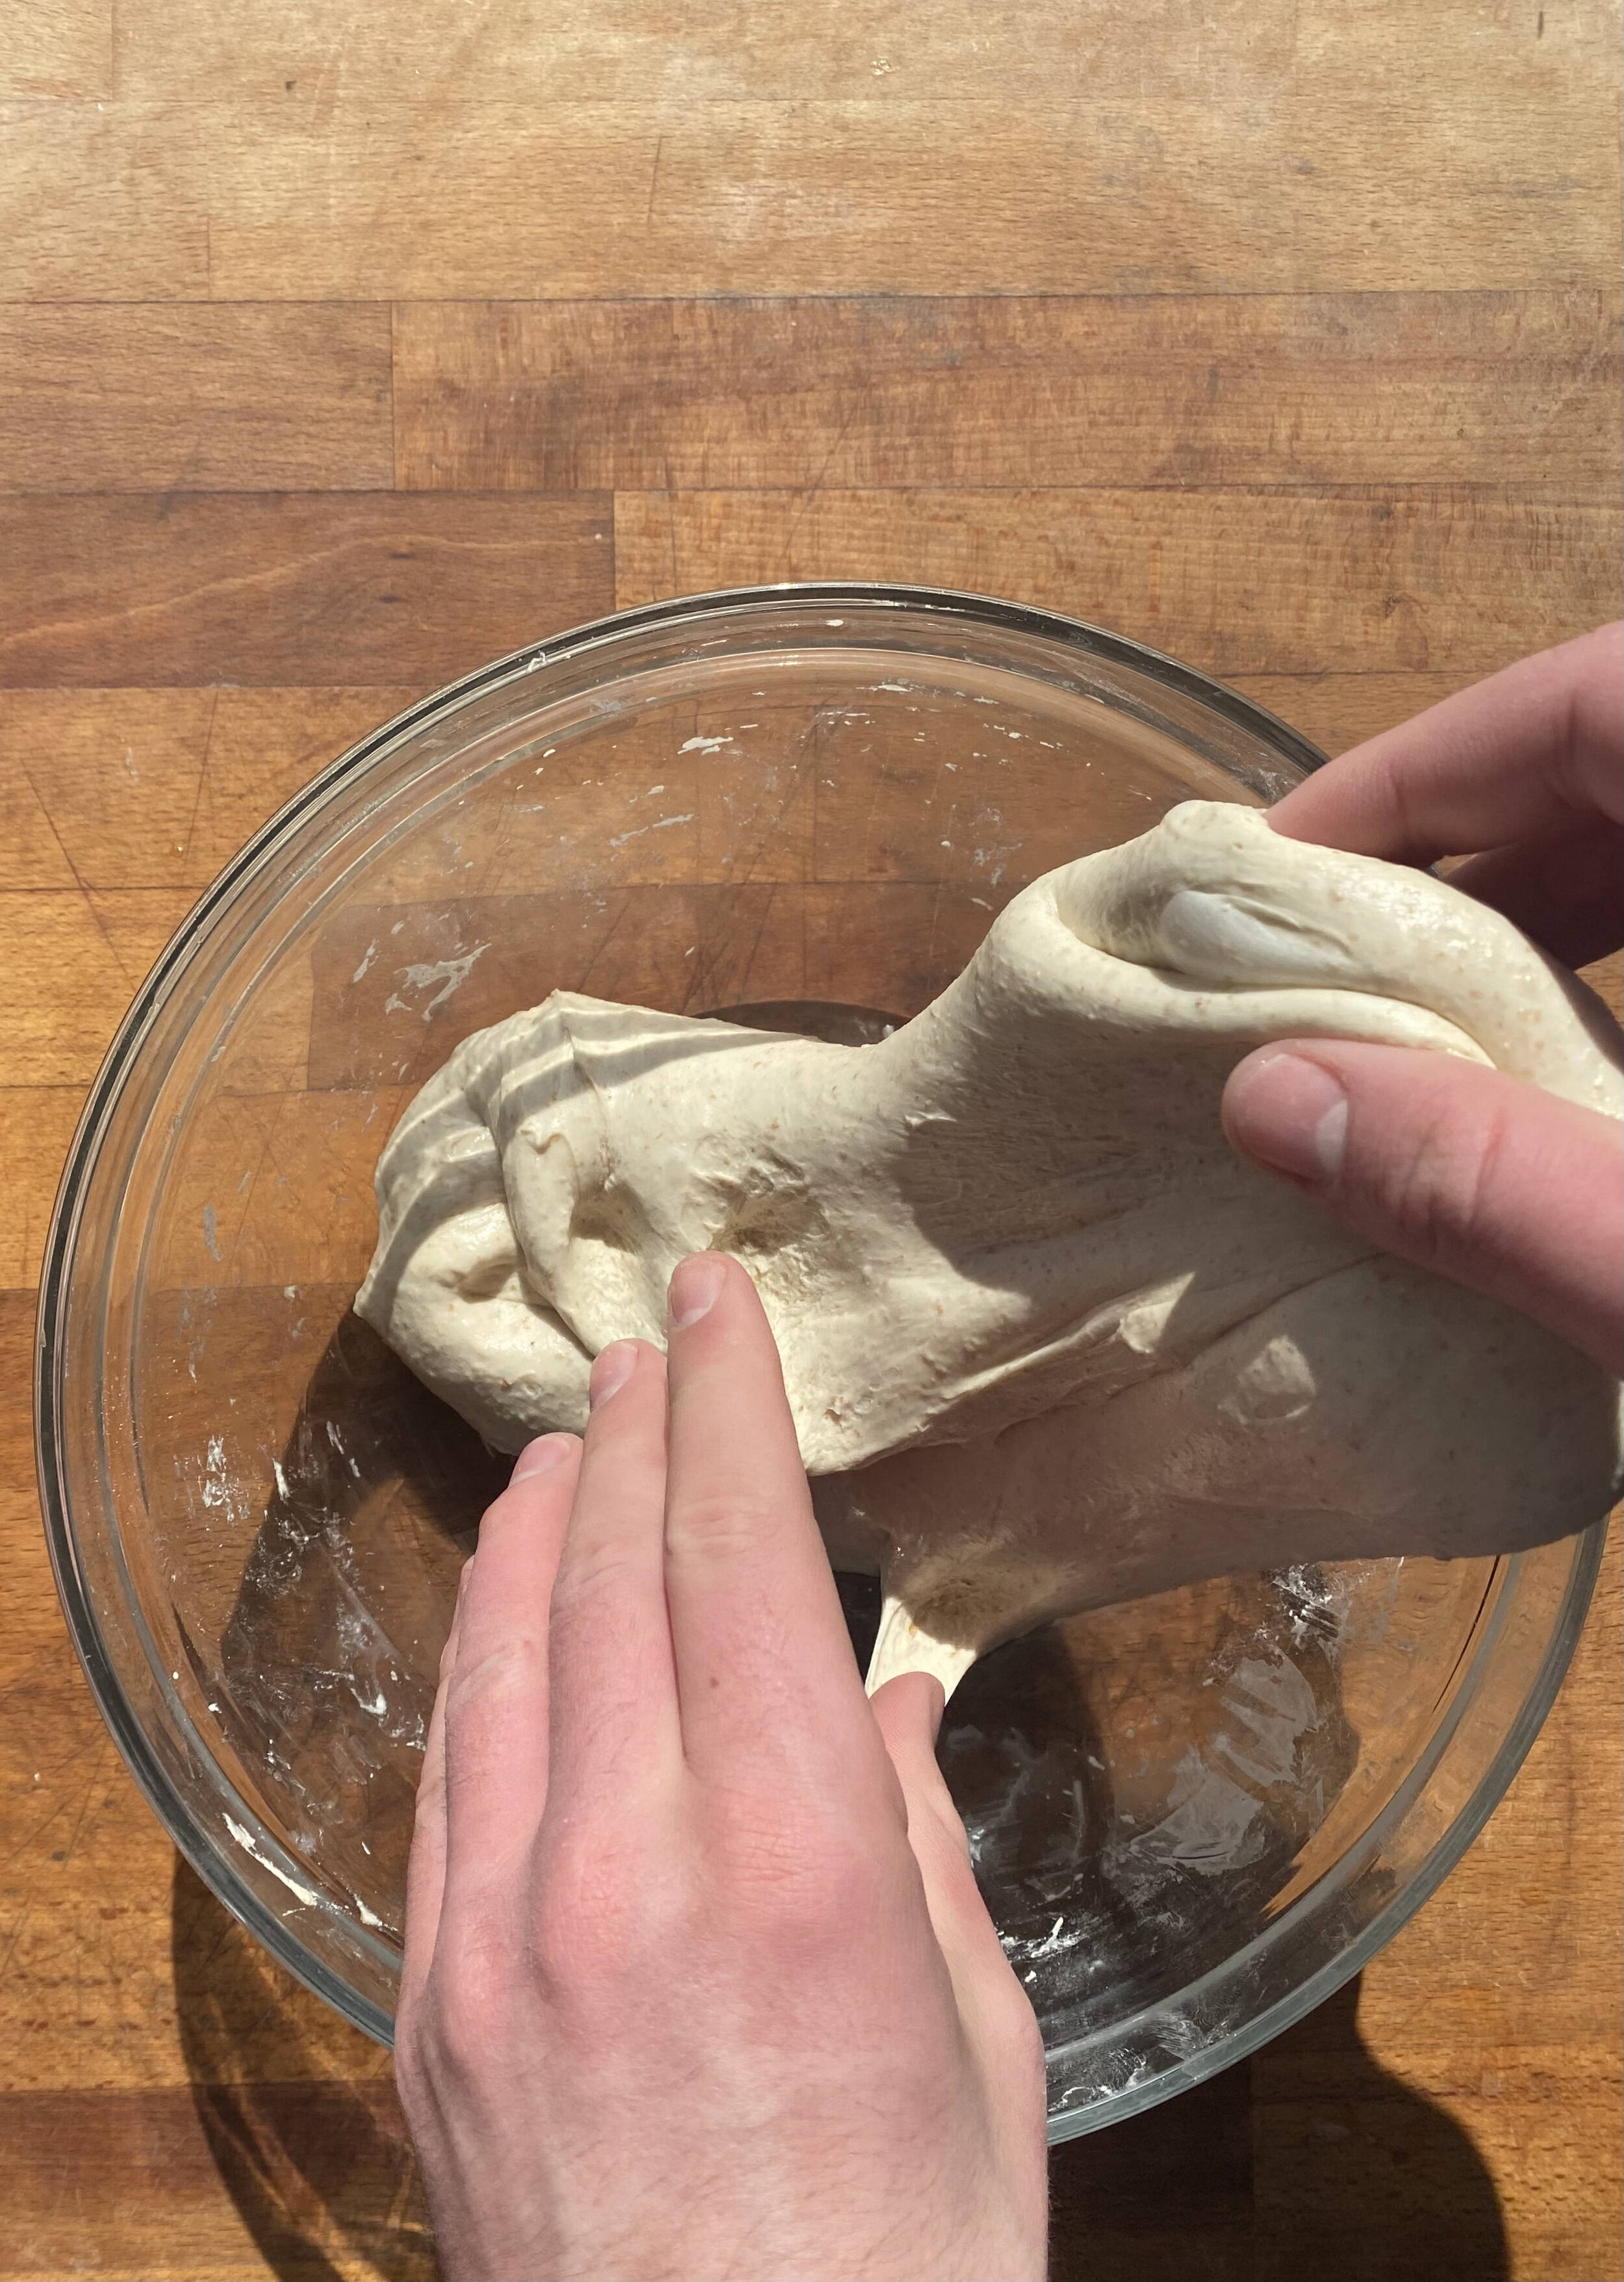
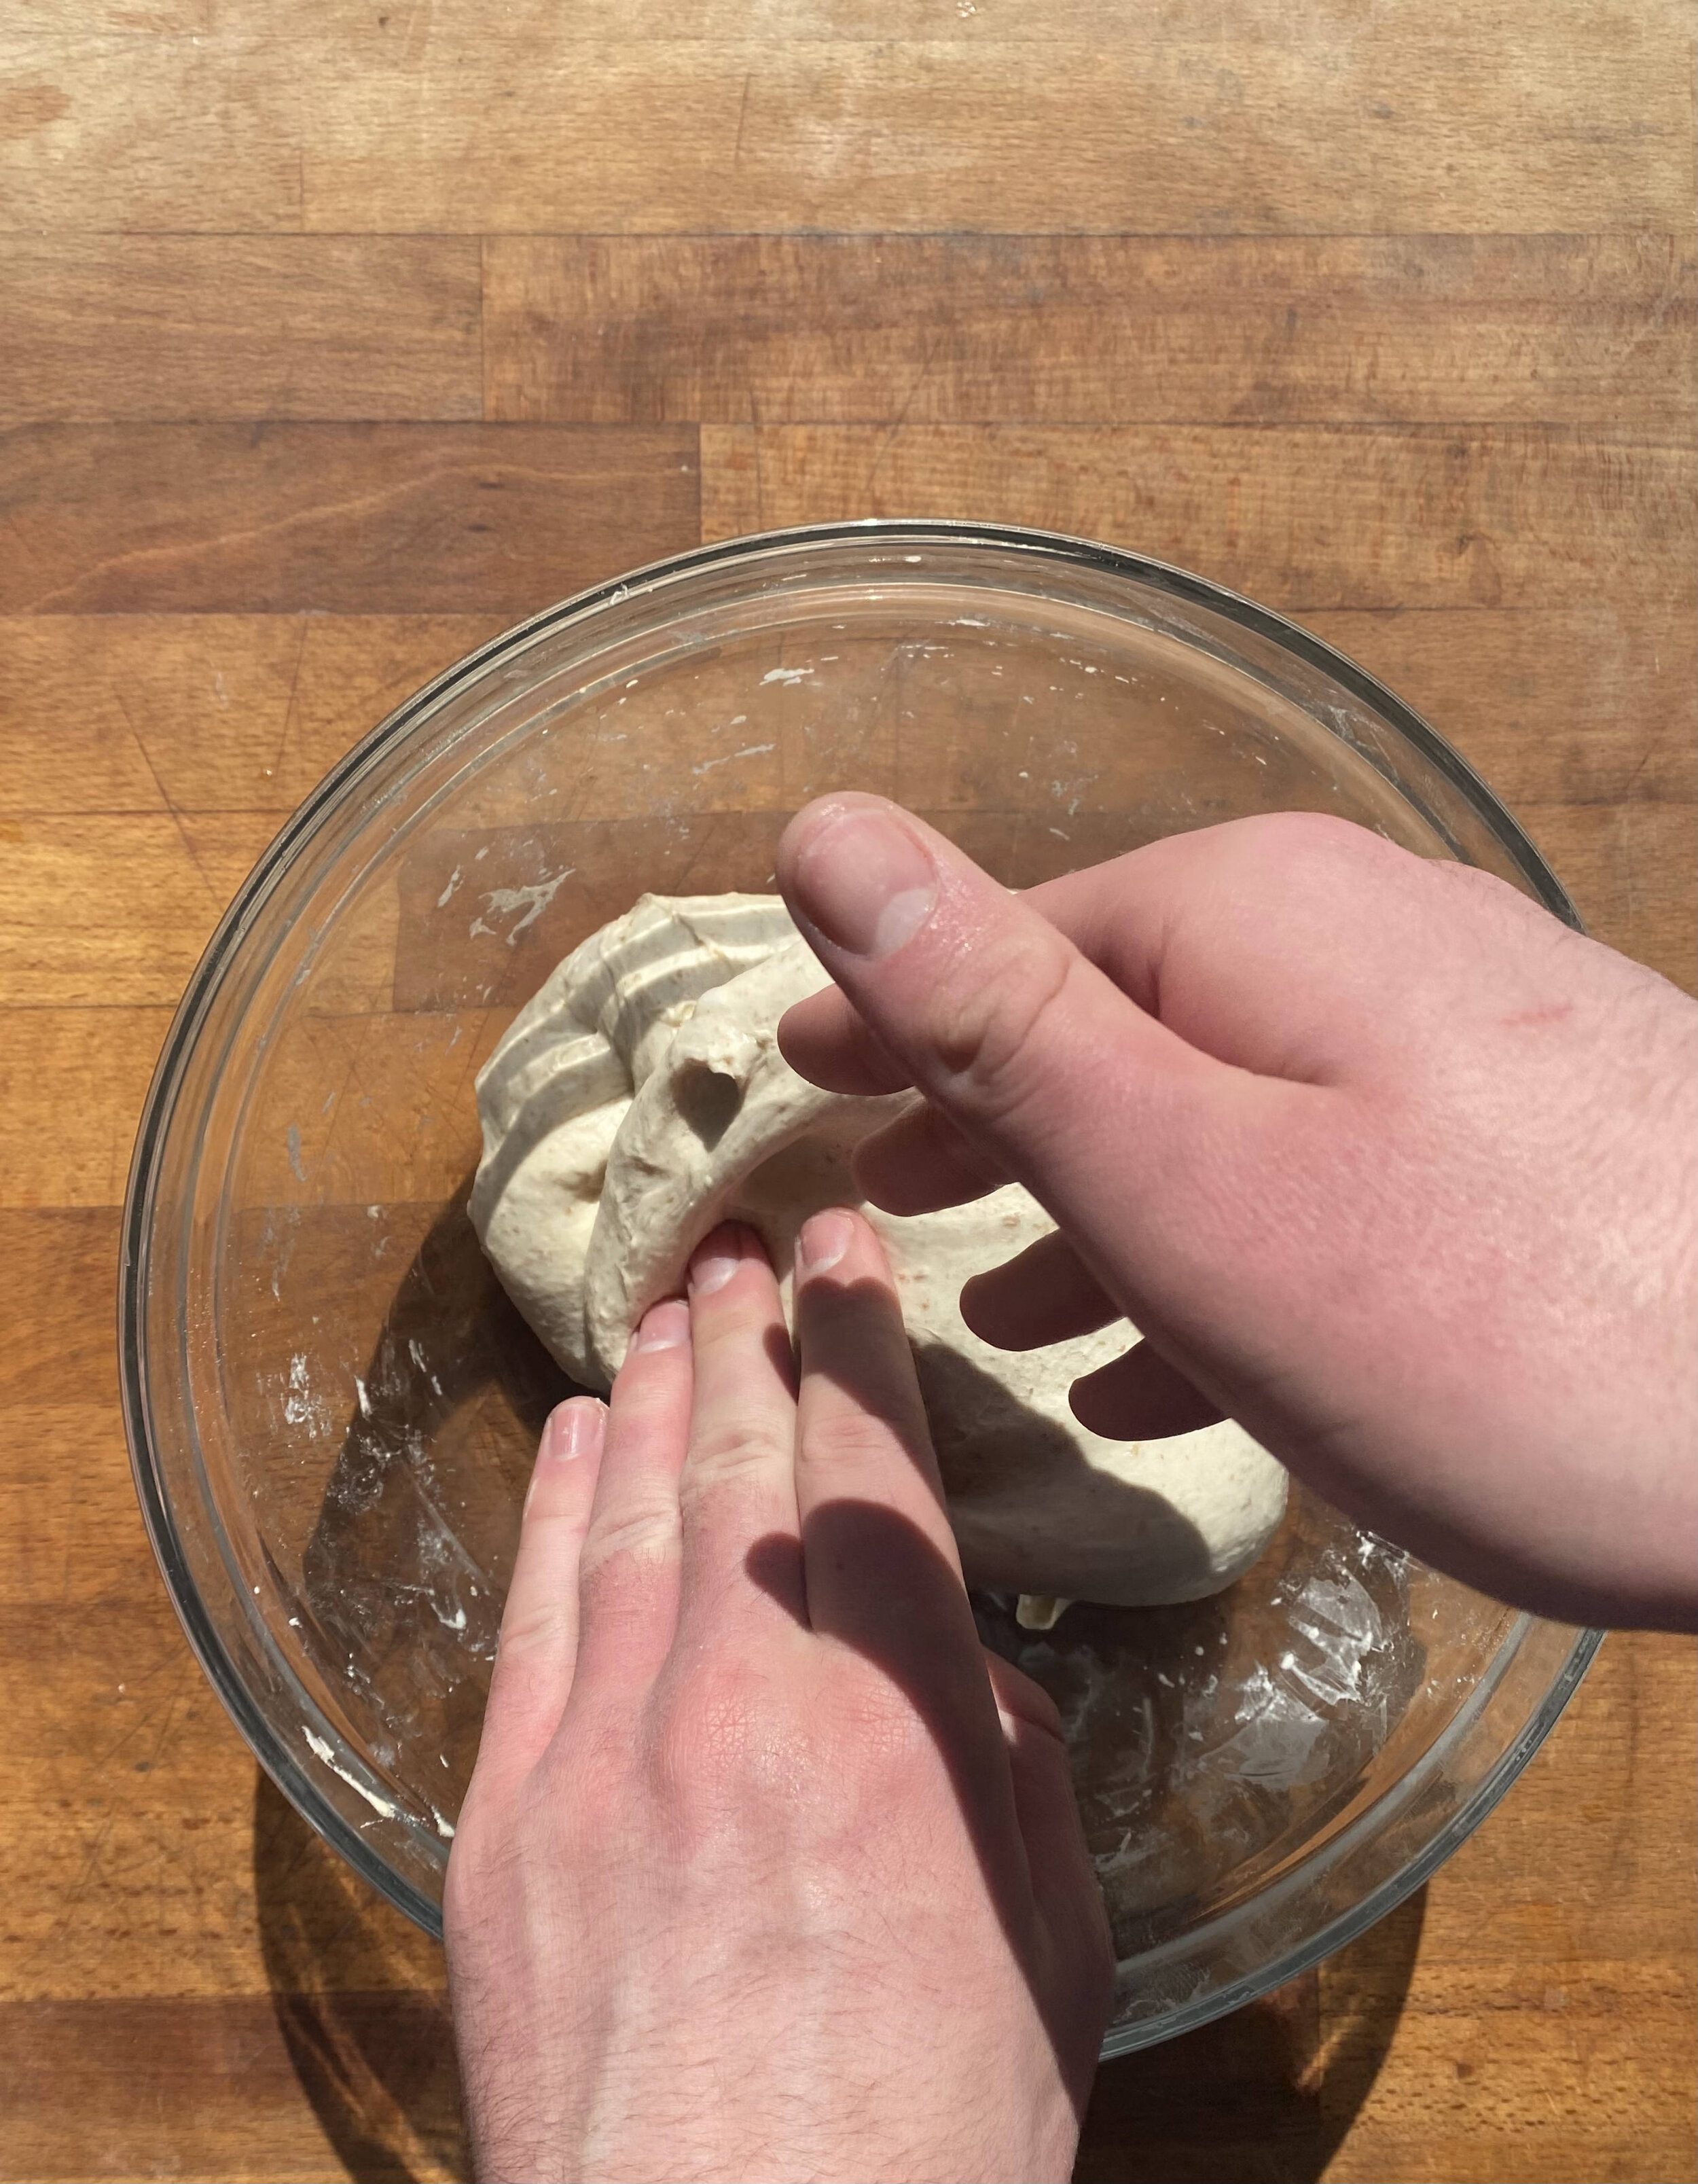
You can test the gluten at any point by doing the window-pane test. This is where you pinch the dough in two places and pull it upwards, creating a thin sheet of dough (picture below for reference). If it holds together and is thin enough to see light through, the gluten is strong enough. If it tears before it gets this thin, you need to strengthen it more.
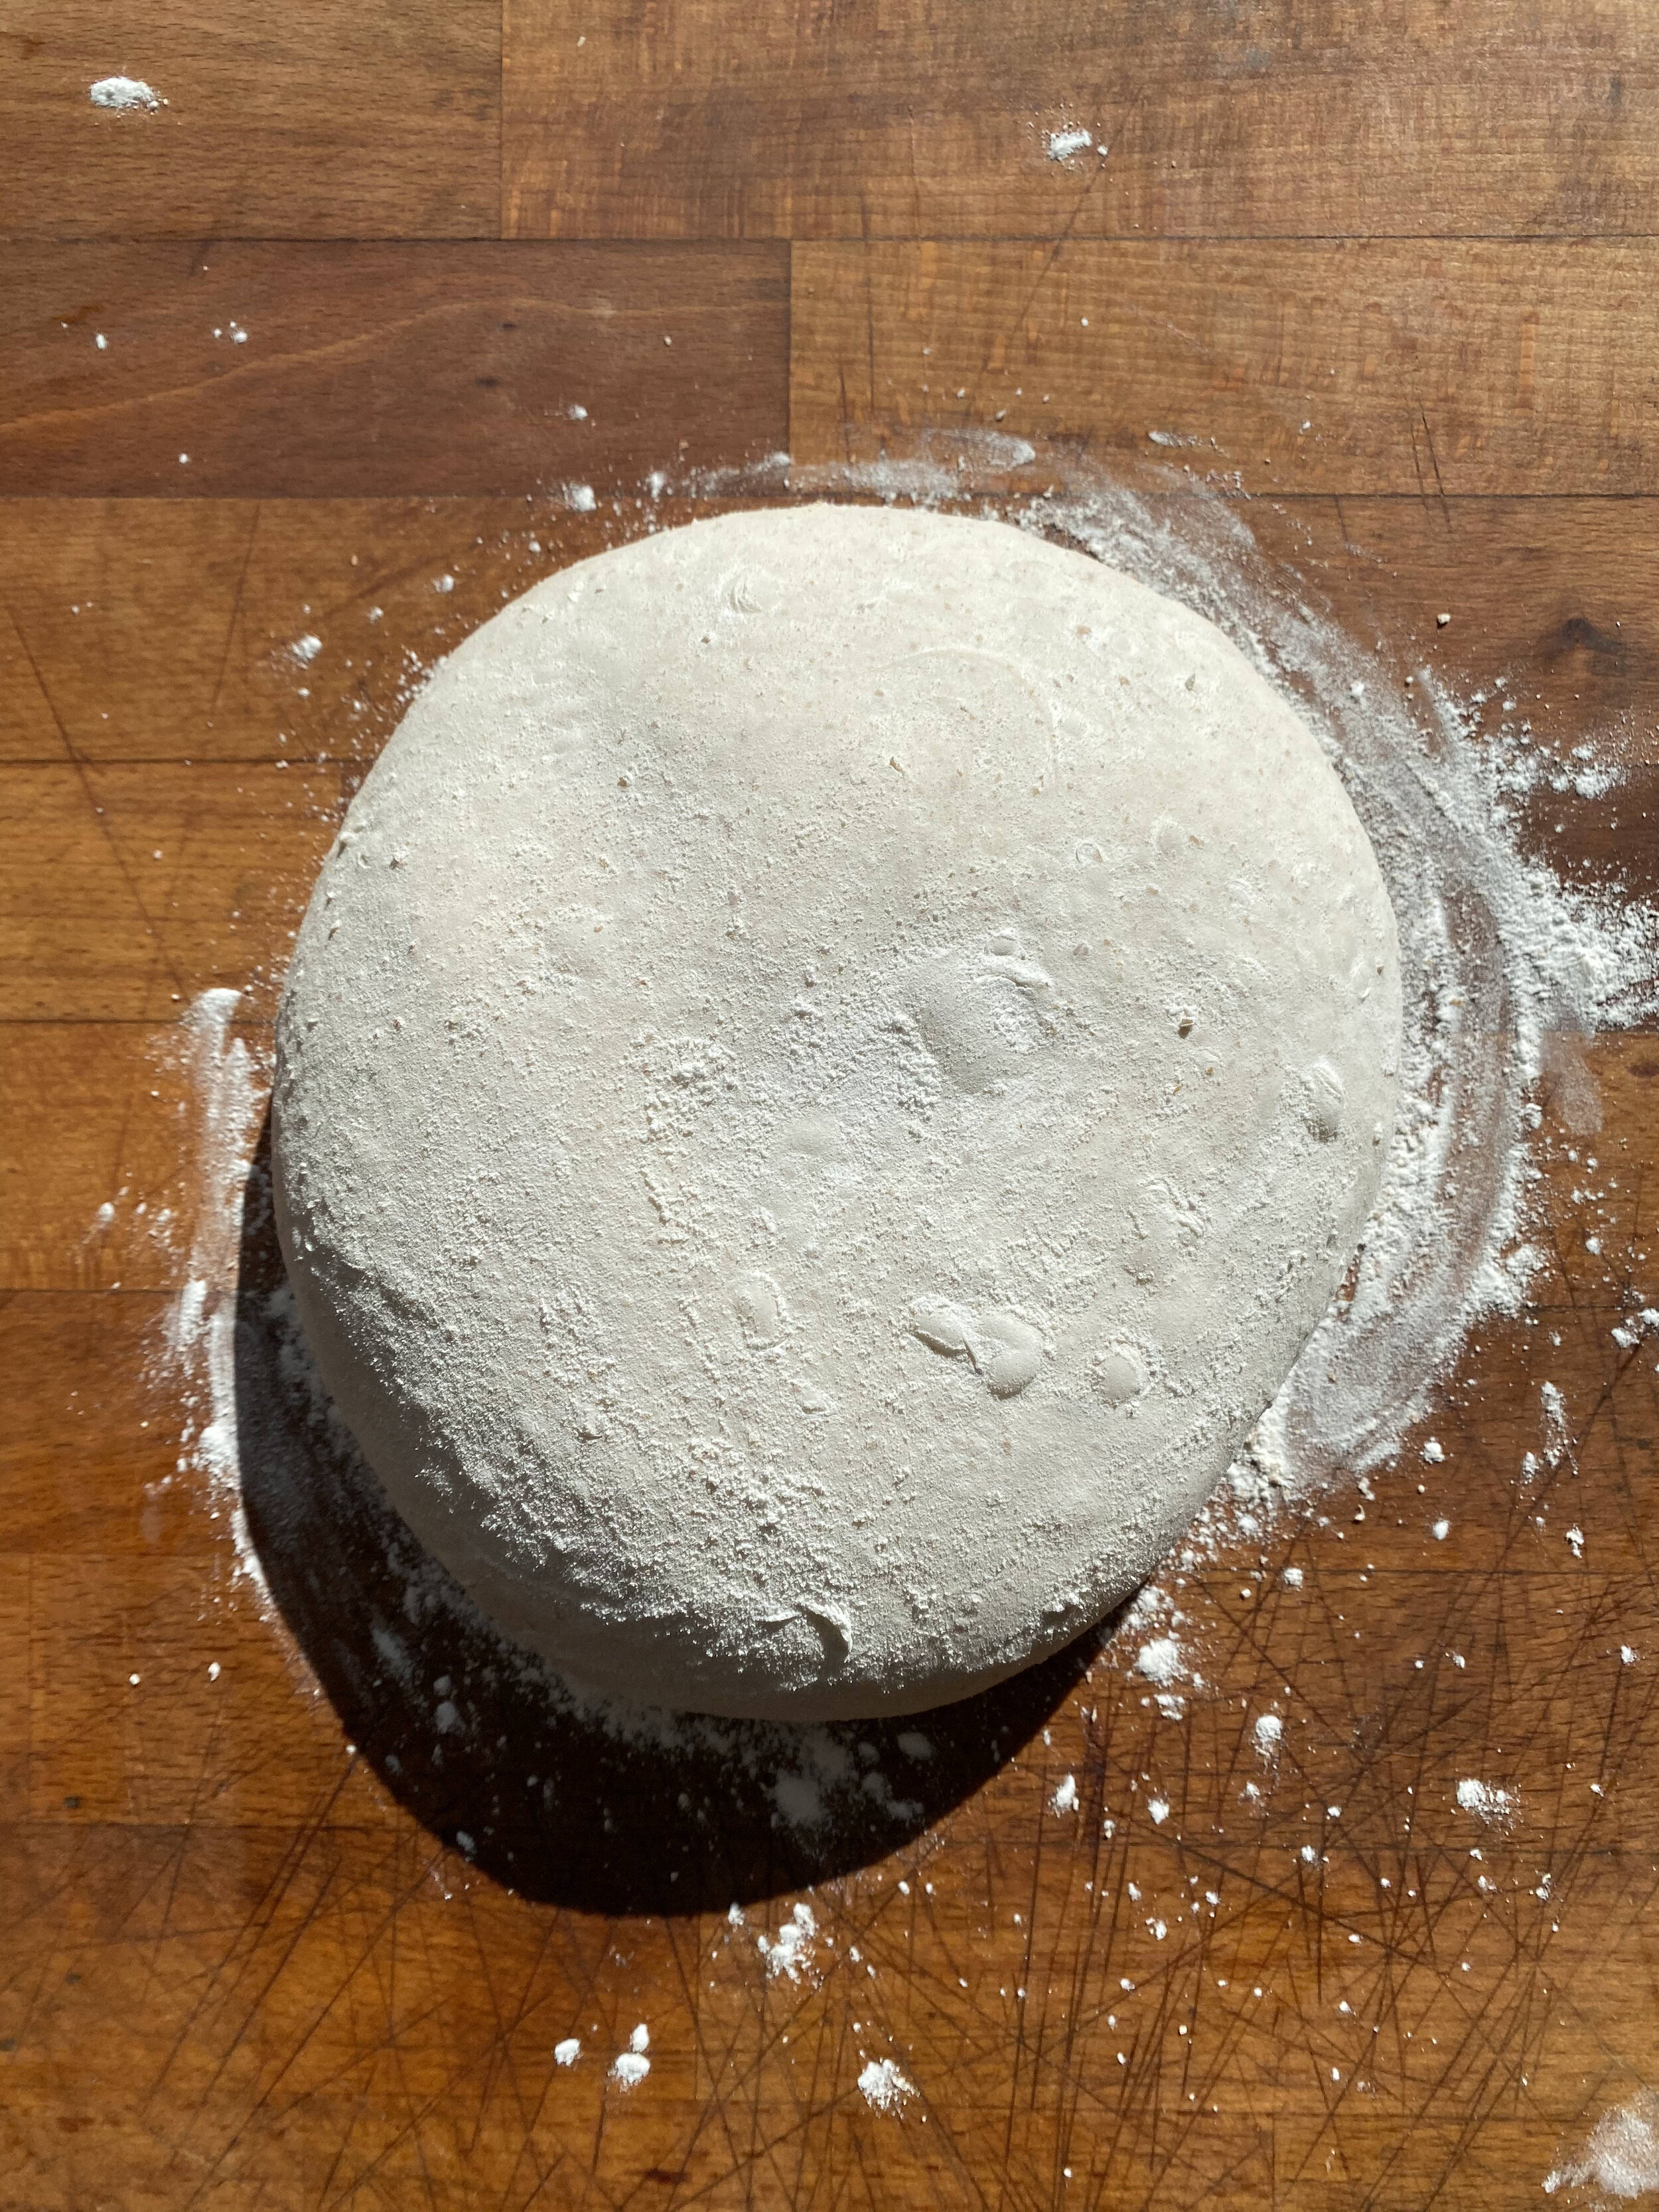
Once the dough is fully fermented and your gluten is nice and strong, you are ready to pre-shape it. To do this, dampen a surface by running a wet hand over it, and tip out your dough. Form this into a round by lightly rotating it on the surface. What you should find is that the bottom starts to anchor to the surface a little as you twist, and tension starts to form on the top.
Once you have a taut top surface, dust the top lightly with flour and cover with your kitchen towel. Let it rest for 30 minutes.
Next, lightly flour a clean section of your surface and, using a dough scraper, lift your round up and flip it onto the floured area. This should mean that your floured top section of dough is now facing downwards, and the clean side that was anchoring to the surface is now on top.
Generously flour your banneton so that it is ready for your dough. I like to use rice flour for this, but any normal flour also works.
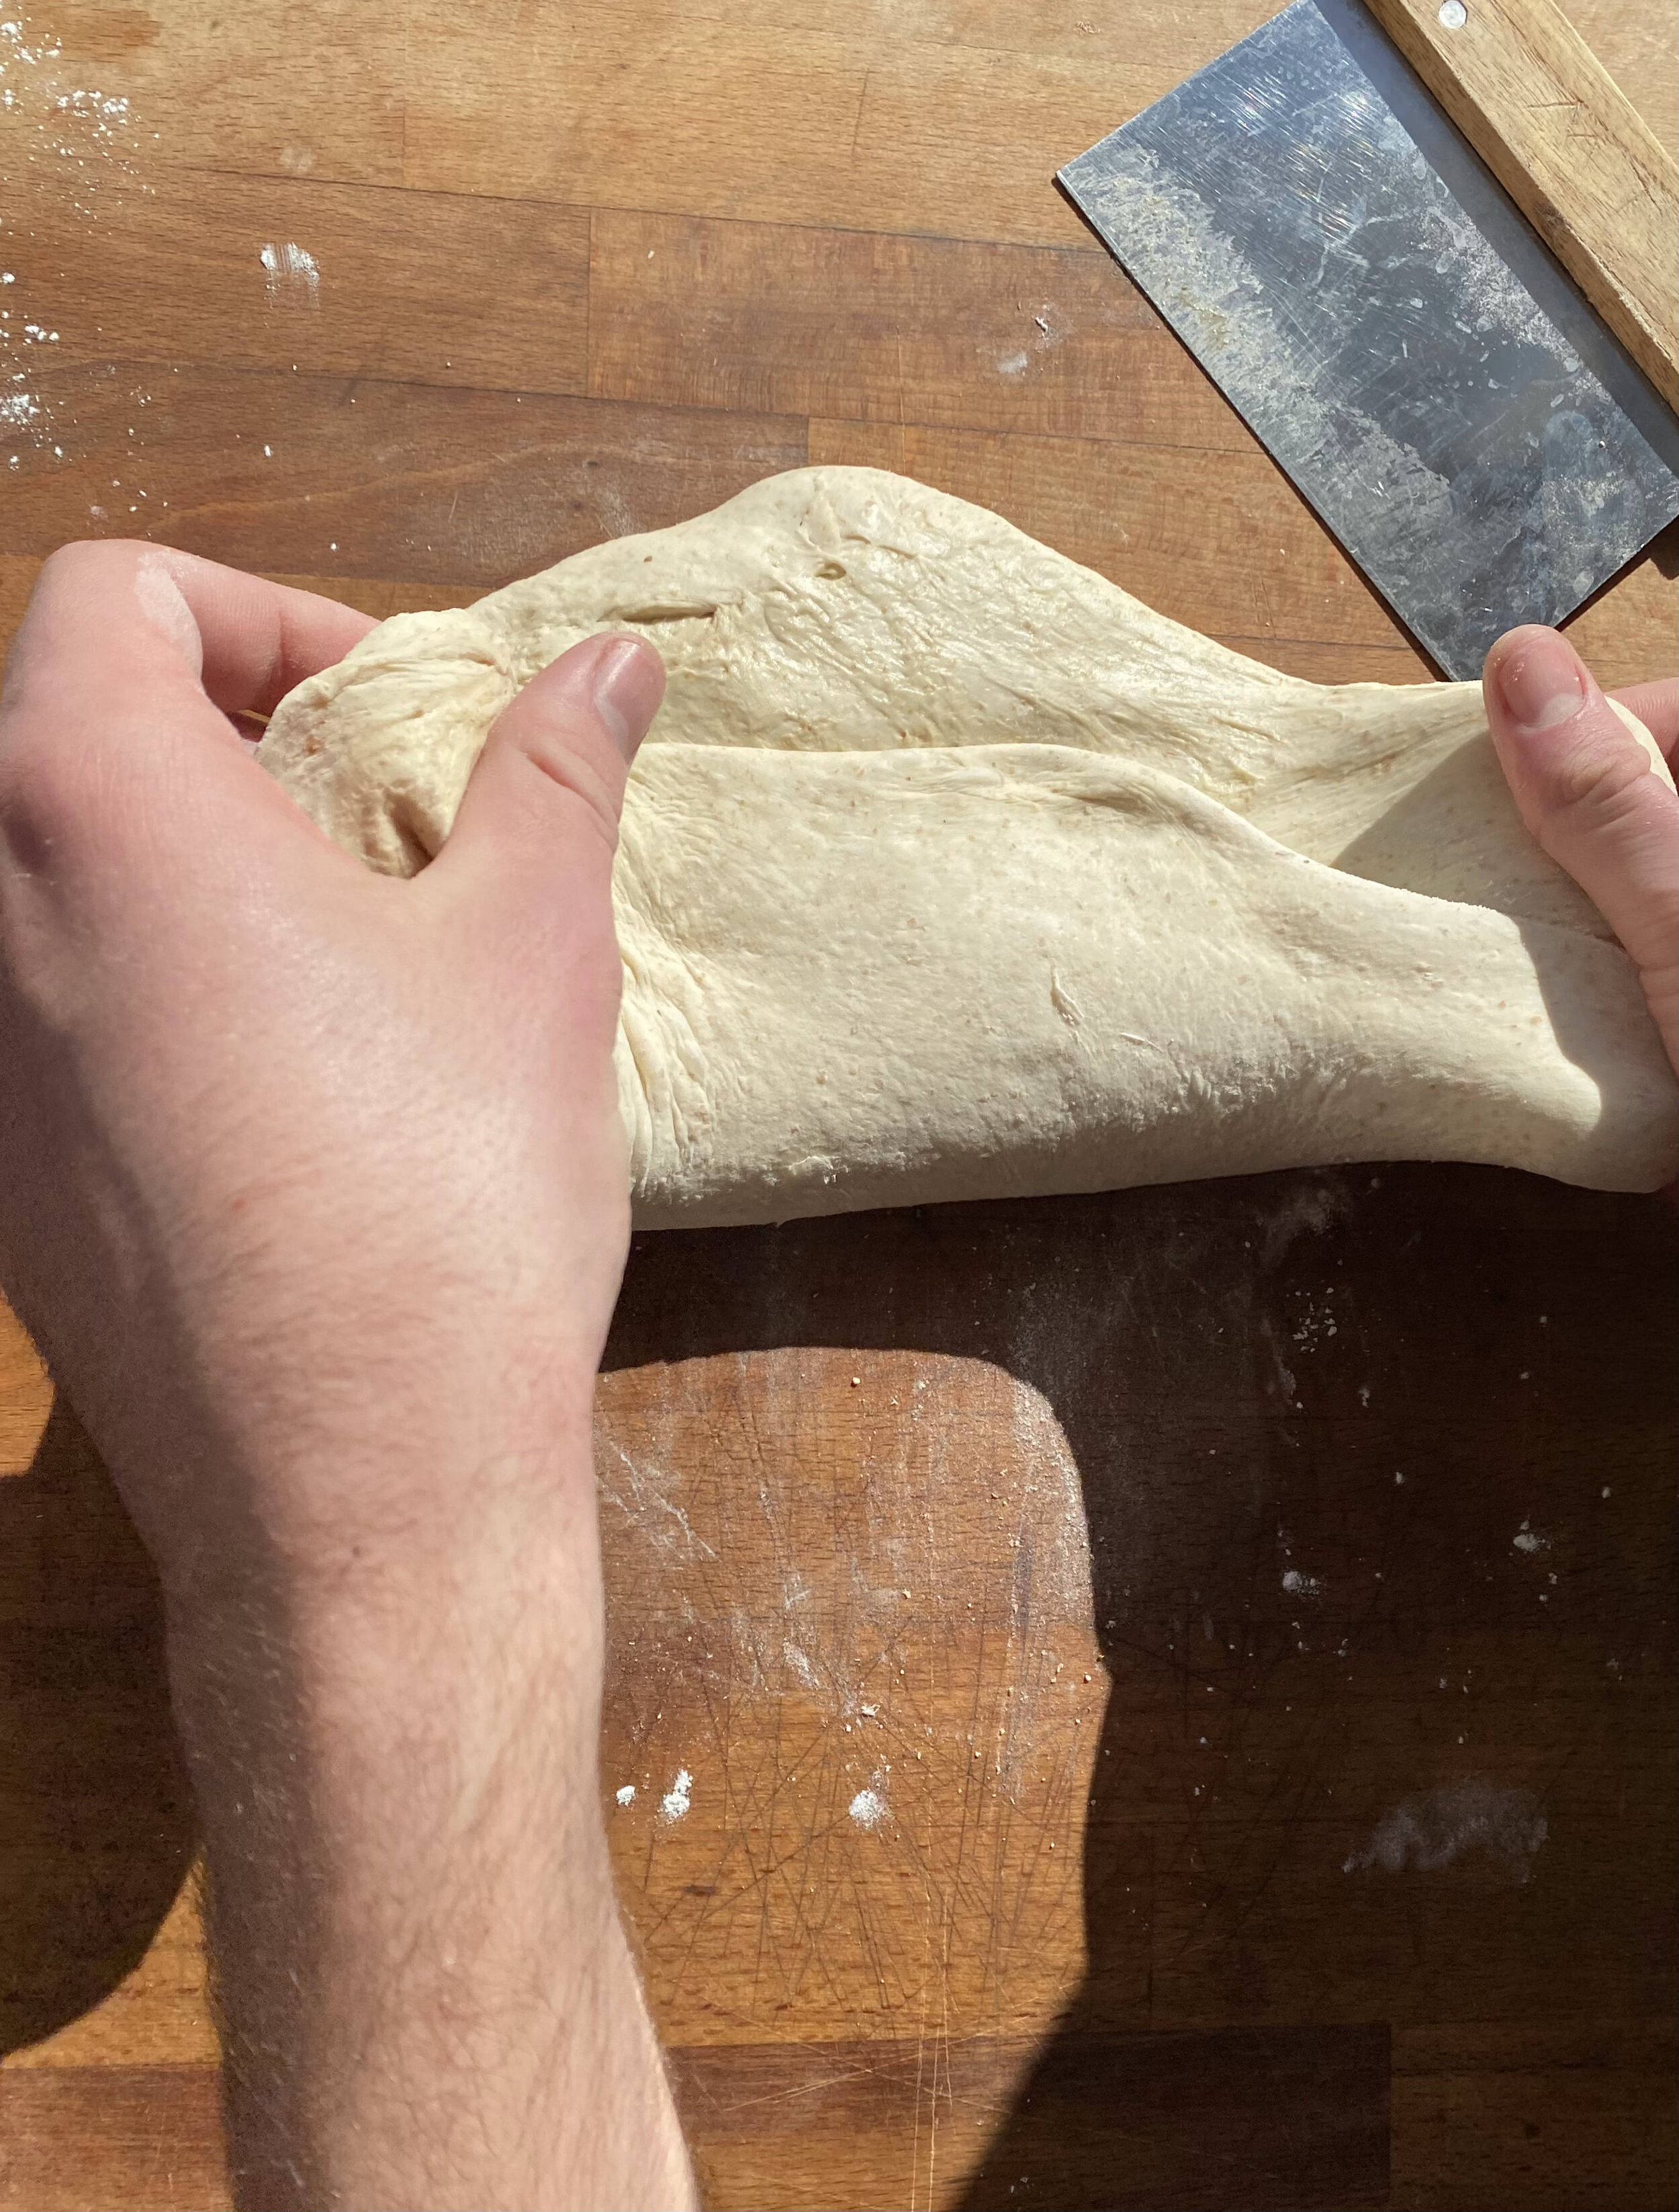
Now, it’s time to shape your load. Start by gently stretching your dough into a rough square. Next, fold the bottom third up and on top. Then grab one side of the dough and fold it on top. Repeat with the other side. Lastly, pinch the two corners of the top section and, in one movement, pull them over the top of the dough so that the dough rolls over and the floured surface is on top.
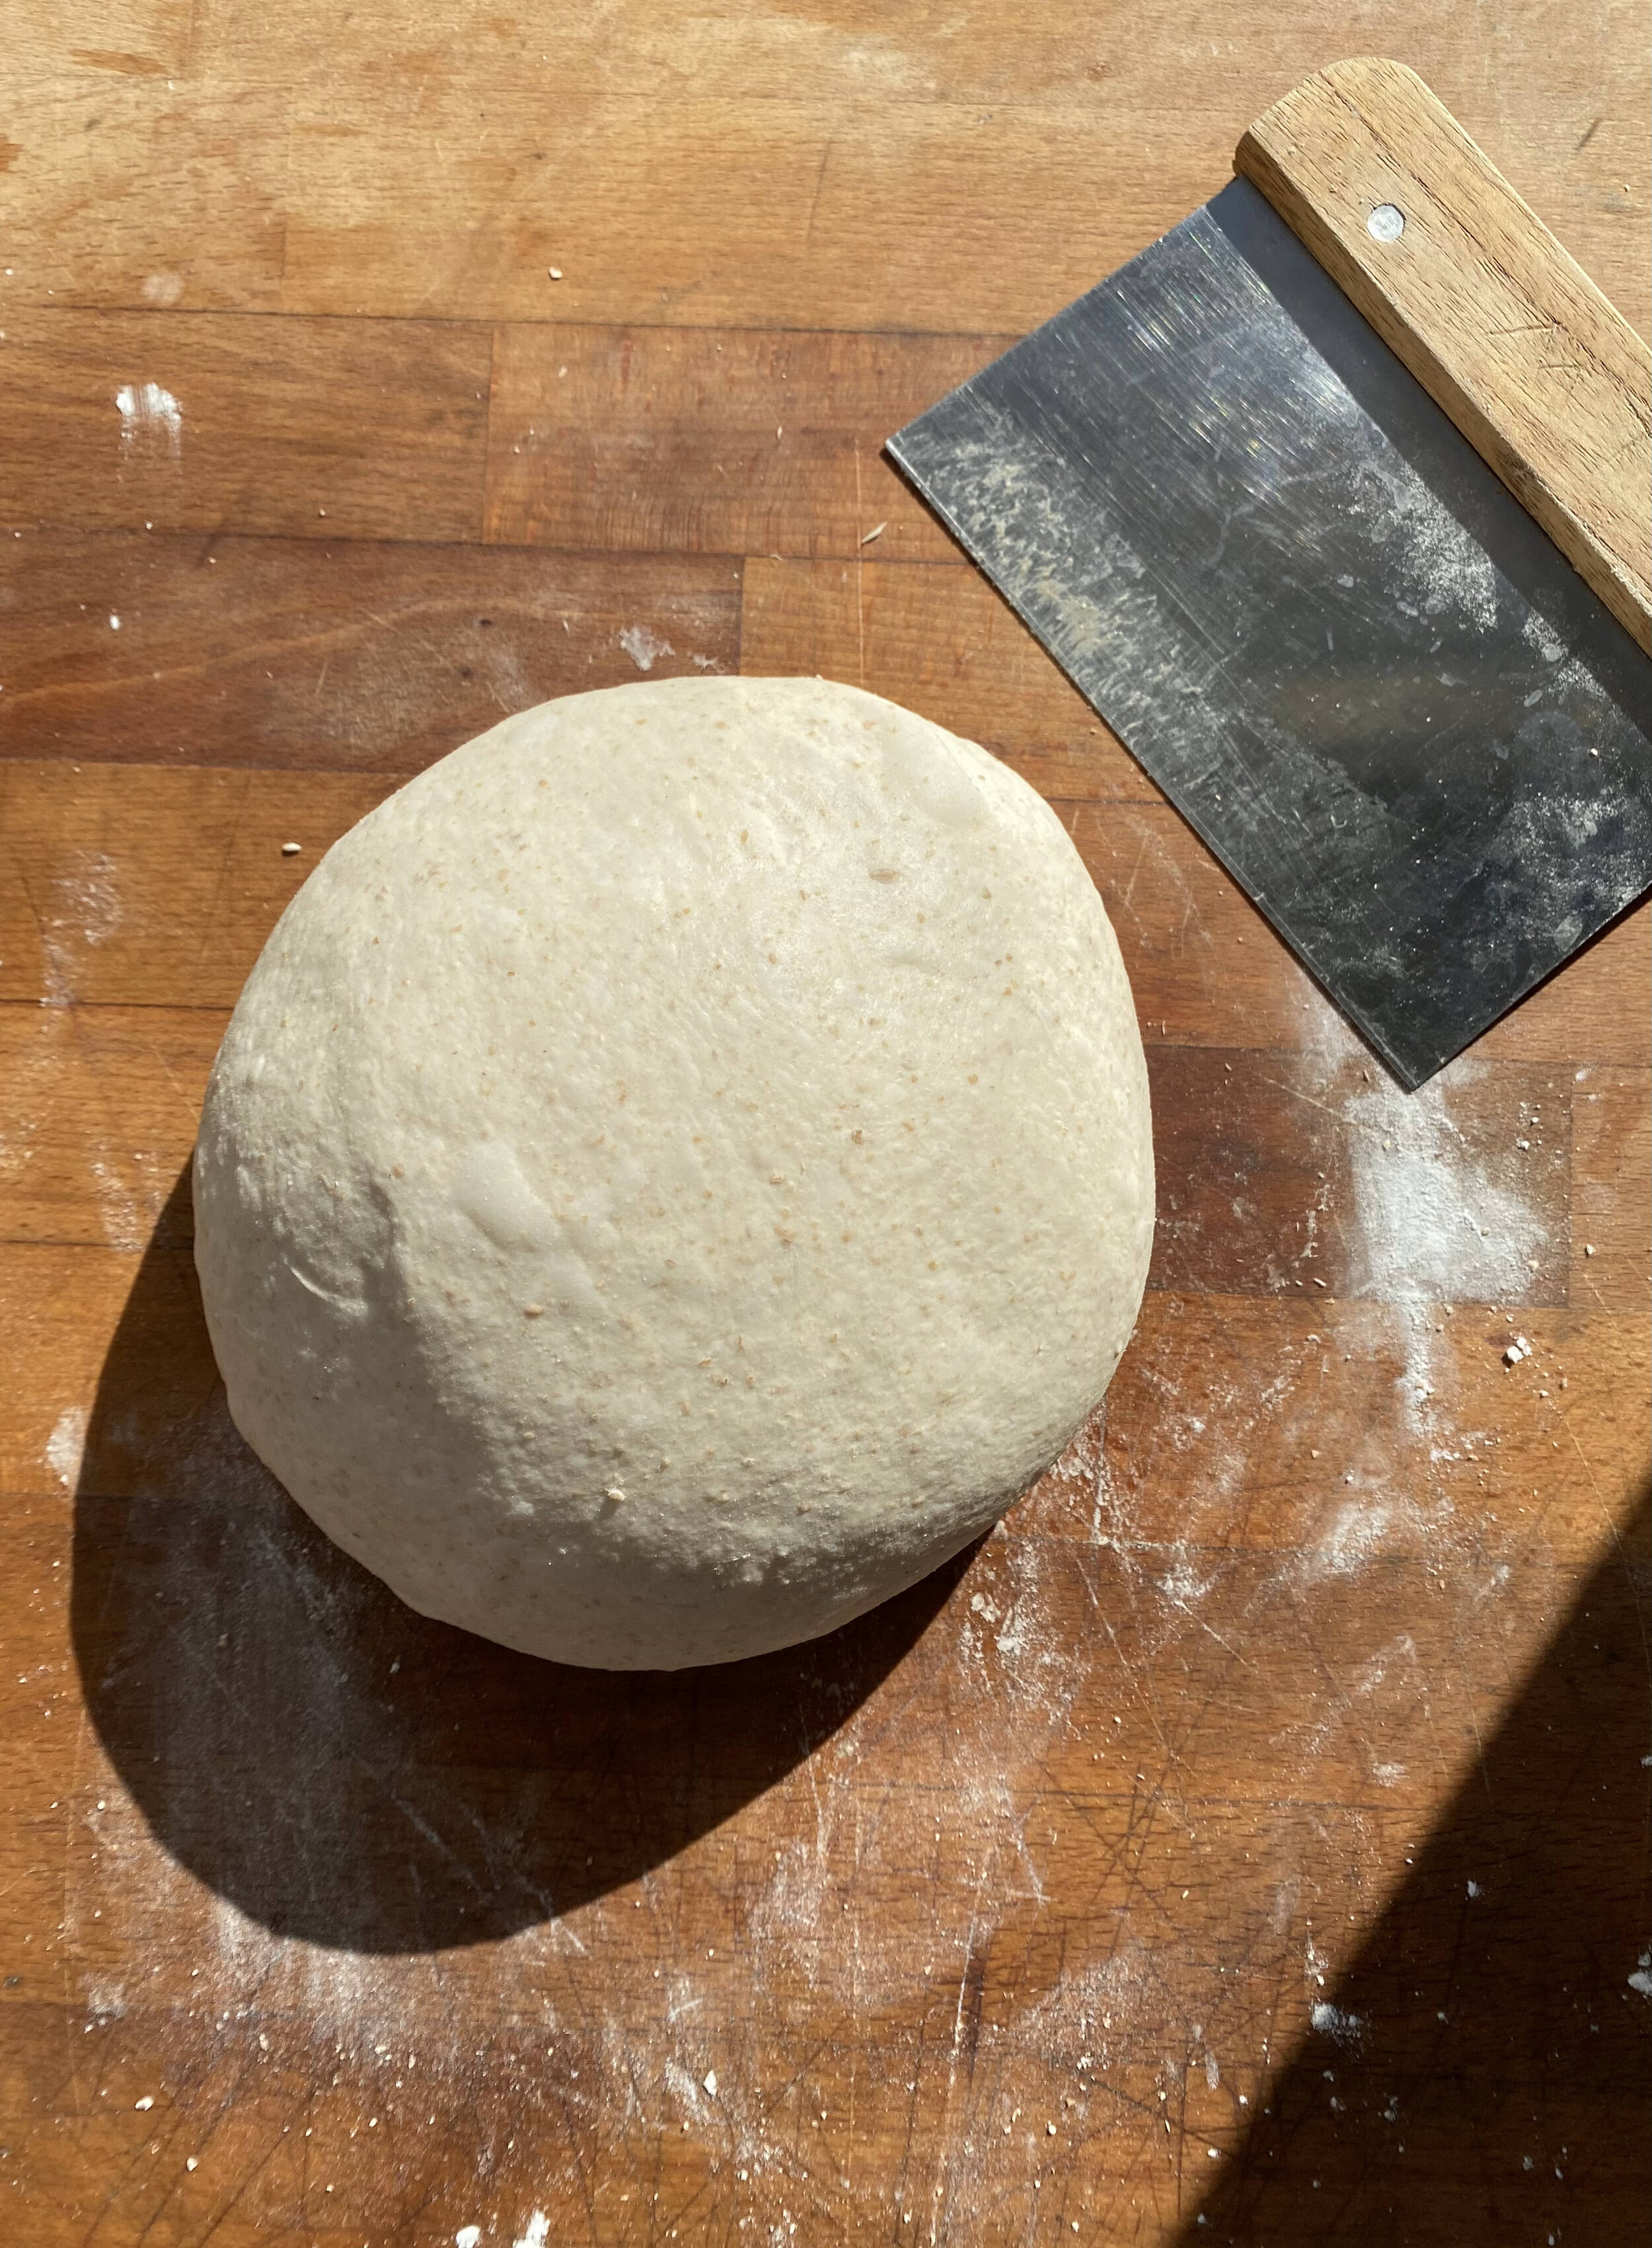
If you are making a round loaf, you can give the dough a few final twists here (as before) to shape it into a round. If you are making an oval loaf, keep it as it is.
Next, carefully transfer this to your banneton, making sure to lay it so that the seams are on top. If the seams are starting to pull apart, you can pinch them back together here to make sure that it keeps the shape you’ve made.
Cover the banneton with cling film, a plastic bag, or a shower cap (anything that creates a seal but you can see through) and place in the fridge overnight (12-14 hours, hopefully) to proof.
I like to proof my dough in the fridge as it limits the chances of overproofing. You can also do this on your counter but the warmer the temperature, the faster it will proof.
baking the loaf (Sunday Morning)
The next morning, it is time to check how well your dough has proofed.
To do this, dip your finger in some flour and then poke the dough to make a little dent. If the dough springs straight back, it is not finished proving. If it slowly springs back, it is perfectly proofed. If it doesn’t spring back at all, it is overproofed.
If it is ready, it’s time to bake. Heat your oven to 250c (or, as hot as it goes) and place a dutch oven inside. The dutch oven is the perfect way of creating the steam needed to keep your dough moist whilst developing a crust, however, if you don’t have one, you can use a baking tray. Just place a dish at the bottom of the oven as well.
Once preheated, dust the top of your dough with more flour and tip it into the dutch oven (or, onto your baking tray). Use a sharp knife or razor blade to score the top (in order to allow the dough to grow) and cover with the lid.
Put this in the oven, reduce the heat to 240c and bake for 20 minutes. This first stage is where steam builds up inside the dutch oven. If you are using a baking tray instead, pour some water into the hot dish you added earlier in order to create steam.
After 20 minutes, take the lid off and reduce the heat to 220c. Bake for a further 20-30 minutes until the top is a deep golden brown.
Take the bread out and let it cool on a wire rack. You can test if it’s done baking by tapping on the bottom. It should sound hollow.
Now comes the hardest part. Your bread is finished baking, but you need to wait for it to cool before cutting into it. This is not just to keep you from burning yourself, but it also allows the dough to relax naturally and will result in a softer bread.
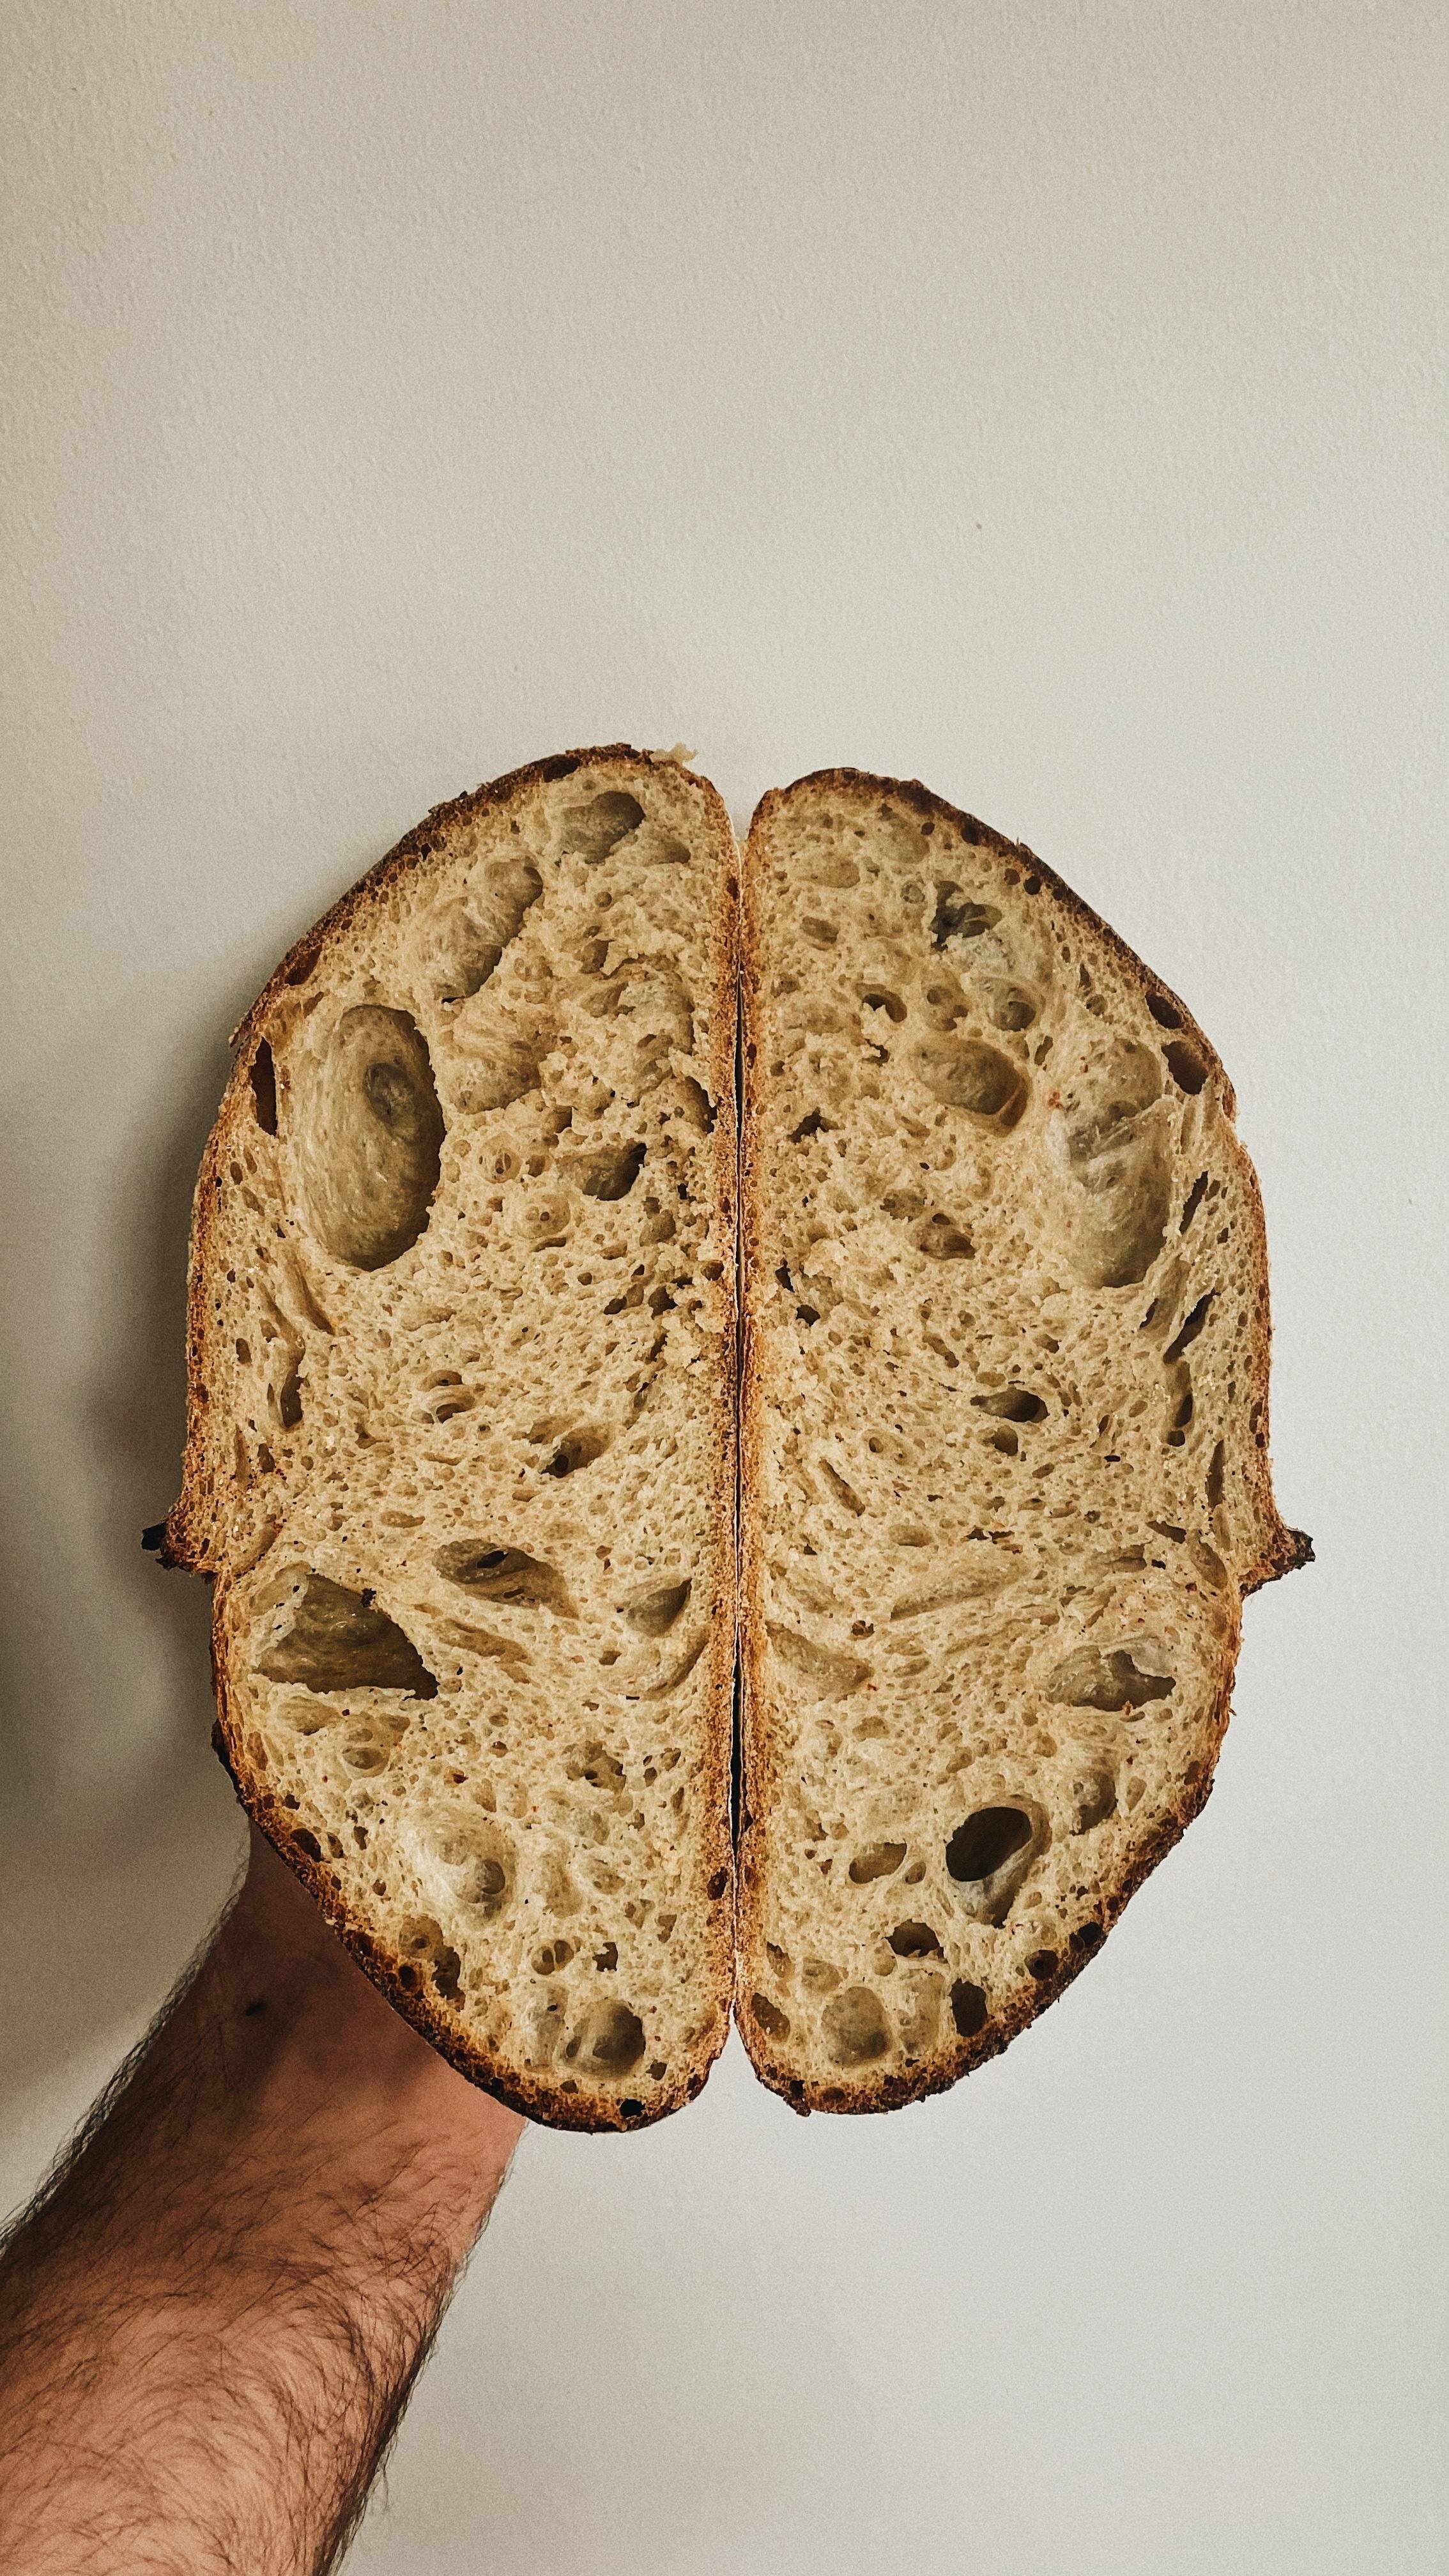
Once it’s cooled, cut into it, marvel at all the bubbles you’ve created, and devour with some good quality salted butter.